Fall brings a blend of golden hues and Halloween whispers, turning home entrances into canvases for seasonal expression. A well-decorated door not only entices aesthetic appeal but also invites the fall and Halloween spirit to your doorstep. Let’s discover some creative ways to give your door a festive makeover, suiting either spooky or elegant autumn themes.
1. Monster Door Wrap
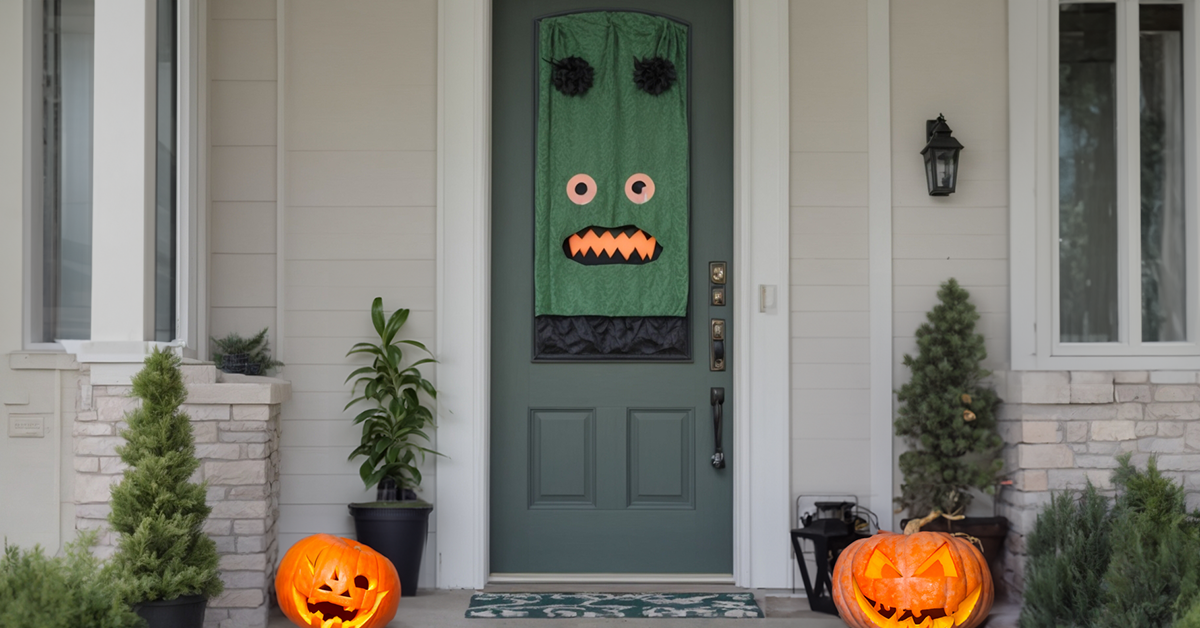
Ready to transform your home's entrance into a fun and festive monster haven? Door wraps are an incredibly simple yet impactful way to decorate, especially when you're keen to make a big statement without breaking the bank. Whether you're aiming for a quirky, friendly monster or a spookier facade, this method is perfect to create a delightful spectacle for your guests.
Materials Needed
- Construction paper: Ensure you have a variety of colors, especially for the essential features like eyes and teeth. Popular choices are green, white, black, red, and blue.
- Tape or adhesive strips: This will be used to secure the monster's features to the door.
Step-by-Step Guide
- Choosing the Base: Start by deciding on the monster's skin. Green is a classic choice, reminiscent of playful fictional monsters. If you don't have a green door or green wrapping material, you can cut large sections of green construction paper to cover significant parts of the door.
- Crafting the Eyes: Using white or yellow construction paper, cut out two large circles. Then, using black or blue paper, cut smaller circles for the pupils. This will give your monster a lively gaze.
- Designing the Teeth: Monsters are known for their quirky dental arrangements. Cut out several triangle shapes from white paper. Whether you choose sharp, jagged teeth or more rectangular ones, it's all up to your monster's personality.
- Assembly: Now comes the fun part! Begin by taping the eyes to the top half of the door. Beneath them, arrange and secure the teeth in a row, as if the door's opening is the monster's gaping mouth. Make sure everything is securely attached to withstand any fall breezes.
- Final Touches (Optional): Personalize your monster! Consider adding warts using black or brown paper circles, crafting a zig-zagging scar, or even adding bushy eyebrows. The sky's the limit when it comes to your monster's quirks.
Tips
- Variety is Key: Don't stop at one monster! If you have multiple doors, each can be a unique creature. You could even make a family of monsters, with "parent" monsters on the main doors and "baby" monsters on lower sections or smaller doors.
- Glow With It: For an enchanting nighttime effect, incorporate elements using glow-in-the-dark paper or paints, especially for the eyes. This way, your monster isn't just a daytime delight but also a nighttime novelty.
2. Wooden Door Tags
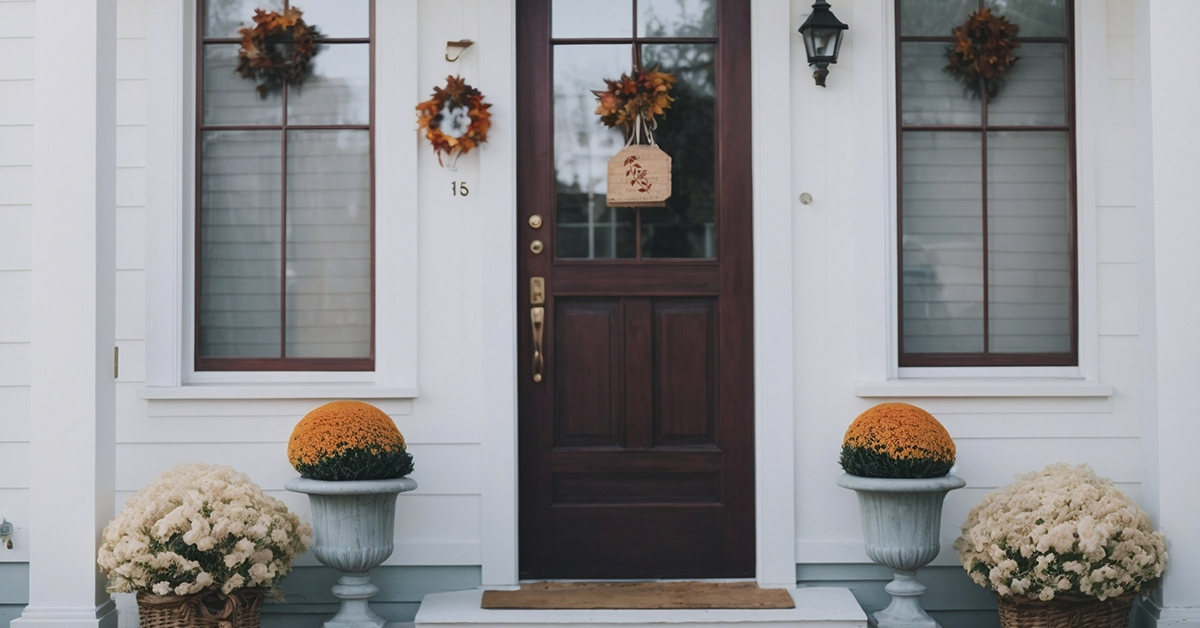
Wooden door tags offer a rustic touch with personalized messages. Procure large wooden tags, acrylic paints, and ribbon from a craft store. Paint a seasonal message or design on the tags, let dry, attach ribbons, and hang them on your door. Stencils can help achieve precise designs.
Materials Needed
- Large Wooden Tags: These can be found at most craft stores or can be handmade if you're feeling extra crafty.
- Paints and Brushes: Acrylic paints work best as they dry quickly and offer vibrant colors.
- Ribbon: Choose a seasonal color or pattern to complement your design. Burlap ribbons also offer a nice rustic touch.
Step-by-Step Guide
- Decide on a Message or Scene: Before diving into the painting, decide what you'd like your tags to display. It could be a simple message, a Halloween character, or a beautiful autumnal scene. You can sketch the design lightly with a pencil to use as a guide.
- Paint Your Design: Use your chosen paints to bring your design to life on the wooden tag. For intricate designs, smaller brushes work best. Ensure even strokes for a polished finish.
- Let it Dry: Depending on the thickness of the paint application and the type of paint used, drying times may vary. It's essential to let the paint dry thoroughly before proceeding to the next step.
- Attach Ribbons: Once dry, thread your ribbon through the hole at the top of your tag. Secure it with a knot or a bow, depending on your preference.
- Securely Fasten to the Door: Hang your tags on your door handle or knob. For doors without handles, adhesive hooks positioned at the top of the door can be a great solution.
Tips
- Stencils for Precision: If freehand painting isn't your forte, or you want a cleaner design, stencils can be a lifesaver. They come in a myriad of designs and can offer a professional touch to your tags.
- Message Ideas: Seasonal messages are always a hit. Phrases like "Happy Fall," "Give Thanks," or a playful "Boo!" resonate well with the season's spirit. Alternatively, personalizing with your family's name or a welcome message adds a touch of warmth to your decor.
3. Pumpkin Display
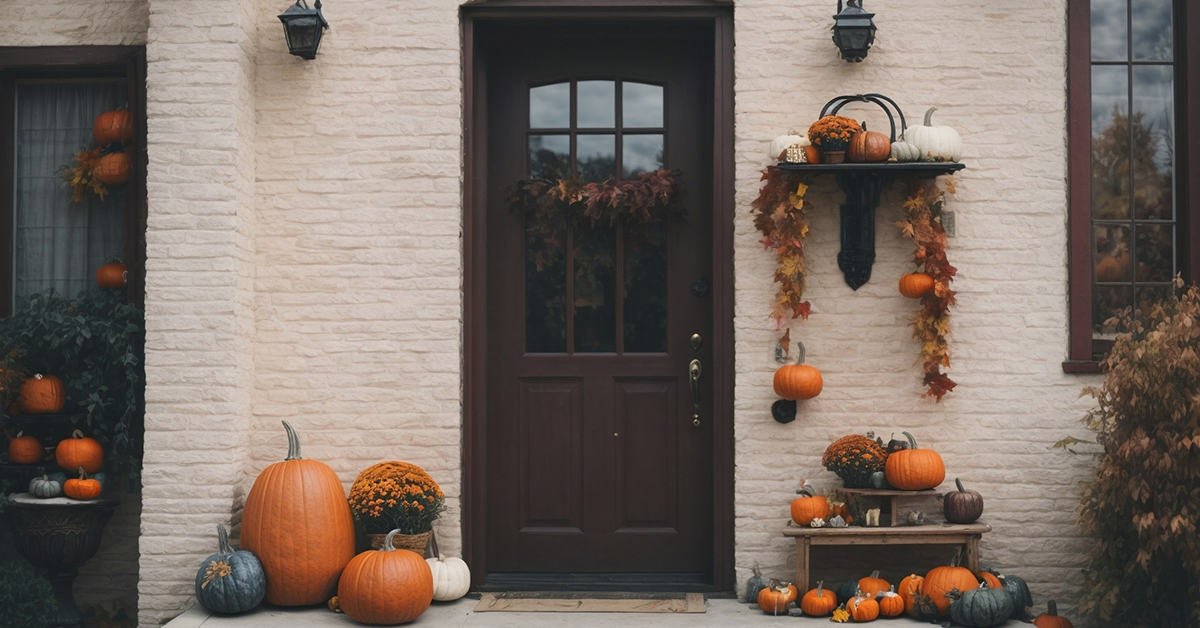
Celebrate autumn with a classic pumpkin display. Arrange pumpkins and gourds of various sizes and colors at your entrance. Include hay bales, lanterns, or urns for a more layered look. Consider painting some pumpkins for an artistic touch, or opt for faux pumpkins for durability.
Materials Needed
- Pumpkins and Gourds: Aim for a variety of sizes, shapes, and colors to make your display dynamic. While classic oranges are always a hit, don't forget about white pumpkins or green gourds for added contrast.
- Hay Bales: These provide a rustic backdrop and elevate some of the pumpkins for a layered look.
- Lanterns: They can introduce a warm, glowing ambiance during the evening.
- Urns or Pots: These can serve as platforms for your pumpkins, giving height and structure to your display.
Step-by-Step Guide
- Clean Your Pumpkins: Before arranging, ensure each pumpkin and gourd is wiped clean. This not only helps them look their best but can also extend their lifespan by removing any dirt or bacteria.
- Start with a Solid Base: Place the largest pumpkins at the base of your display. If you're using hay bales or urns, position these first as foundational elements.
- Layering is Key: On top or in front of your larger pumpkins, arrange medium-sized and then smaller pumpkins and gourds. Think about stacking, leaning, and even turning some pumpkins on their sides for an organic, natural look.
- Accessorize: Intersperse your lanterns, if you're using them, amidst the pumpkins. If you're opting for a daytime display, you might place lanterns without lights or candles. For nighttime, consider safe LED candles to illuminate them.
Tips
- Artistic Touches: If you're feeling artistic, consider painting some of the pumpkins with fall motifs, family initials, or even elegant gold and silver patterns. Carving is another option, but remember, once carved, pumpkins have a reduced lifespan.
- Faux vs. Real: While real pumpkins have that authentic feel, faux pumpkins can be just as visually appealing and have the added advantage of durability. You can reuse them year after year, making them a sustainable and hassle-free choice.
4. Silhouette Cut-Outs
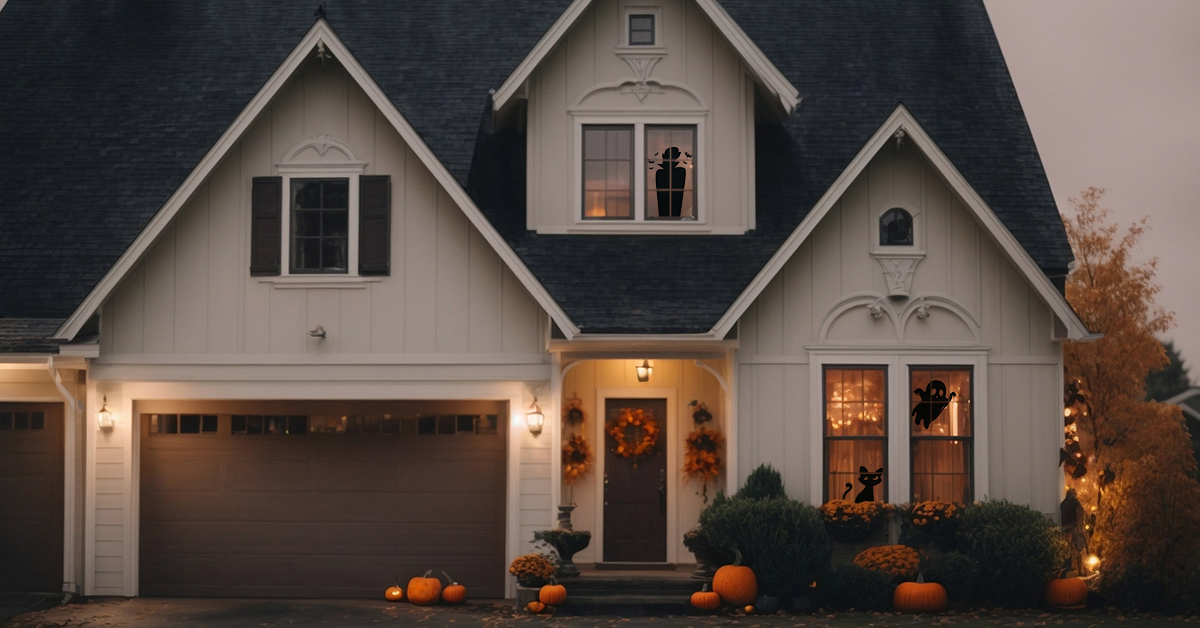
Silhouettes create a mysterious charm for Halloween. Using black construction paper or cardboard, cut out silhouettes of eerie figures and attach them to your door with tape. Translucent doors or nearby windows can have a light source behind the silhouettes for a spooky shadow effect at night.
Materials Needed
- Black construction paper or cardboard: This serves as the base material for your silhouettes. Choose a sturdy type to ensure your designs hold up against the elements.
- Scissors: A sharp pair will allow for precise cuts, especially for intricate designs.
- Tape: To securely attach your silhouettes to the door. Double-sided tape can be particularly useful to keep the design flush against the door.
Step-by-Step Guide
- Choosing the Design: Begin by selecting the figures you'd like to silhouette. This could be anything from the arch-backed cat, witches flying on their brooms, to bats with outstretched wings. Feel free to mix and match multiple designs for a varied look.
- Tracing and Cutting: Once you've chosen a design, you can either trace it onto your black paper or cardboard if you have a stencil, or freehand draw it for a more organic look. Once your design is on the material, use your scissors to carefully cut it out. Remember, the sharper and cleaner your cuts, the more striking your silhouette will be.
- Attaching to the Door: With your silhouette cut out and ready, decide on its placement on the door. Using your tape, secure the design, ensuring it's flat and visible. If using multiple silhouettes, consider varying the heights and positions for a dynamic display.
Tips
- Lighting It Up: If your door is translucent or if there's a window on or near it, placing a light source behind can really make the silhouettes pop during nighttime. The shadows cast will add depth and enhance the spooky factor. Opt for a soft light to avoid overpowering the design and ensure the focus remains on the silhouette itself.
5. Glowing Eyes
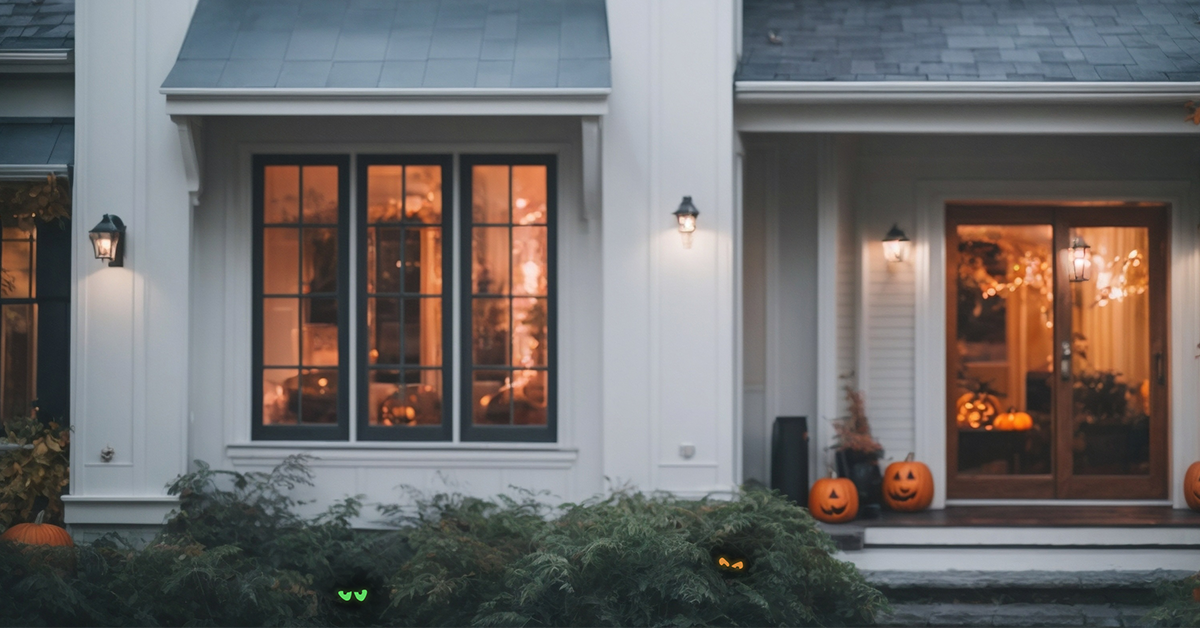
Create a chilling effect with glowing eyes lurking from your yard. Cut eye shapes from empty toilet paper rolls, insert glow sticks or LED tea lights, and place them in bushes or behind windows. Experiment with different colors and groupings for a varied eerie effect.
Materials Needed
- Empty toilet paper or paper towel rolls
- Glow sticks or LED tea lights
- Scissors
Step-by-Step Guide
- Cutting the Eyes: Begin by taking your empty toilet paper or paper towel rolls and using scissors to cut out pairs of eye shapes. You can get creative here – from almond-shaped cat eyes to more round, curious shapes. If you're going for a more varied look, mix and match different eye designs.
- Lighting it Up: Once you have your eye shapes ready, activate your glow sticks (if you're using them) and insert one into each roll. If you're using LED tea lights, simply turn them on and place them inside the roll. These lights will give the eyes their eerie glow.
- Placing the Eyes: Now for the fun part! Find spots around your yard, particularly in bushes, shrubs, or plants, where the eyes would naturally be hidden, showing only their glowing gaze. You can also place them behind windows, peeking out from behind curtains, for an indoor spooky effect.
Tips
- Color Variety: While the classic green or blue glow sticks work great, using colored glow sticks like red can offer a more ominous or menacing look. Experiment with different colors to see what works best for your desired effect.
- Secure Placement: If it's windy, you might want to ensure the rolls are securely placed so they don't blow away. Using small stakes or even taping them discreetly can help.
- Grouping: For an enhanced eerie effect, consider grouping several sets of eyes close together, creating the illusion of a gathering of mysterious creatures in the dark.
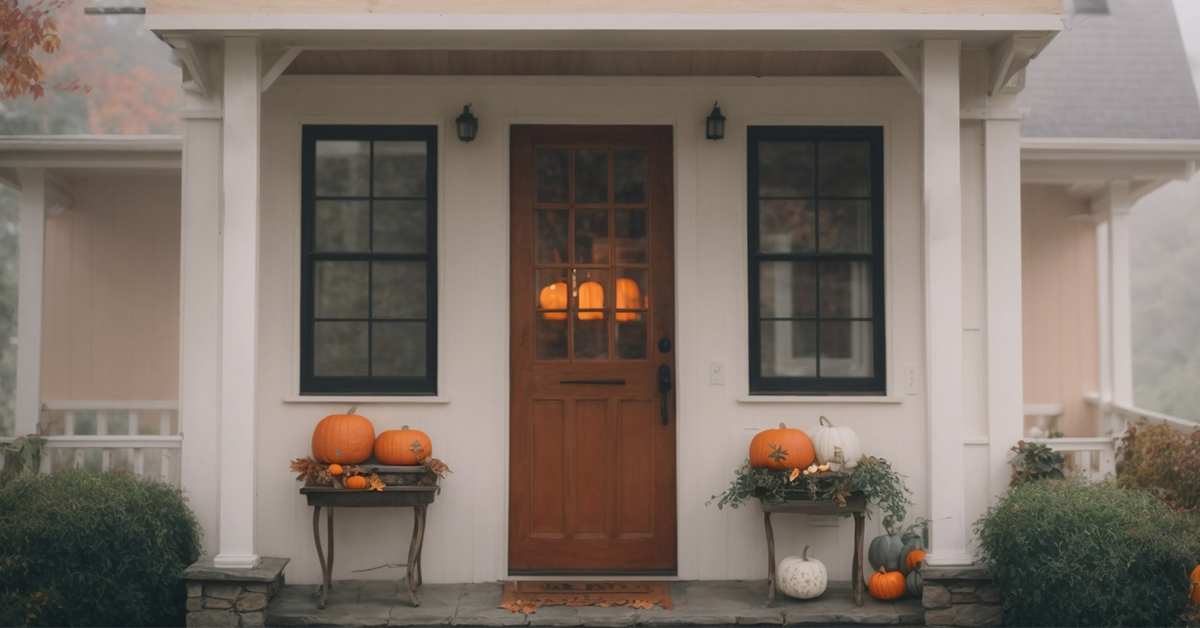
Fall and Halloween offer a chance to express our festive spirits right at our doorsteps. From monstrous faces to glowing eyes in the dark, these DIY ideas provide a starting point for your creativity. Share your decorative ventures, ensure safety with lighting, and enjoy a cozy, colorful fall and a spooky Halloween!
If you've been inspired, we'd absolutely love to see your interpretations of these decorations. Share your photos and your own variations with us, and let's make this season a vibrant showcase of community creativity. Remember, if you decide to brighten up the dark October nights with lighting, always prioritize safety. Use LED or flameless options wherever possible.
Explore Related Posts


